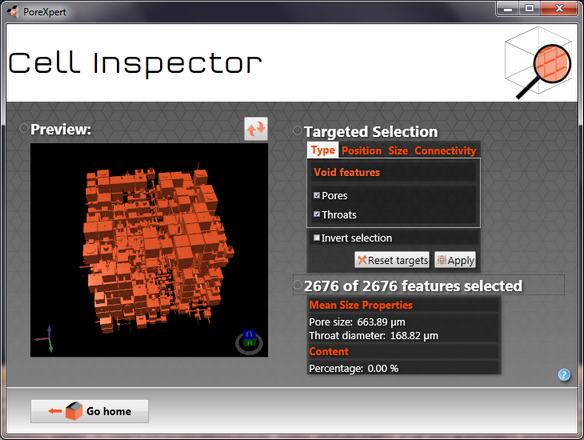
Clicking on 3D properties view reveals the Cell Inspector screen shown below.

3D cell inspector showing a 10 x 10 x 10 unit cell with all of the void structure displayed.
The 3D cell inspector screen shows a preview of the structure. If you double click on the structure a full screen preview or the structure appears. To close the full screen preview, click on the full screen to make sure it is selected, and then press the escape button on your keyboard. Use the right hand mouse button to allow you to move the structure, or click on the little cube in the bottom right hand corner which shows the face labels (e.g. U = Upper = maximum z = fluid reservoir face).
The right hand side of the above screen allows you to select different features to examine the properties of the selected feature or determine the average properties of all the selected features by feature type. The targeted selection works in the same way of the targeted modification operation, allowing you to visualise, for example, ink bottle pores or throats that are filled with a fluid.
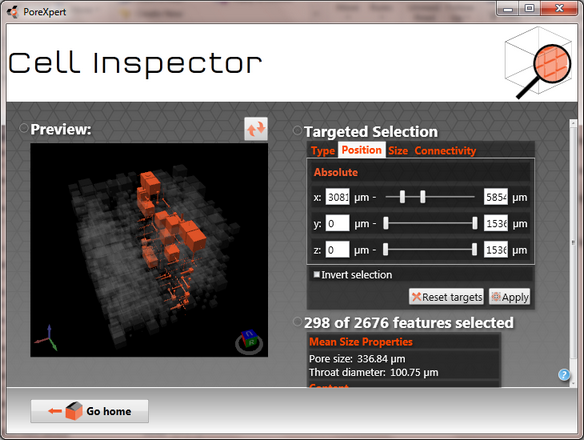
After targeting, you can use the cell inspector in an x-ray mode, so only the features selected are shown, with the appropriate skeletal material properties. Features can be selected according to :
Type (pores or throats), Position in the unit cell, Size of the pore or throat, and Connectivity (number of throats connected to a pore, from 0 to 6).
A screen shot of the above structure in x-ray mode is shown in the next figure.

3D cell inspector in x-ray mode highlighting the fourth xy-layer in the z direction.