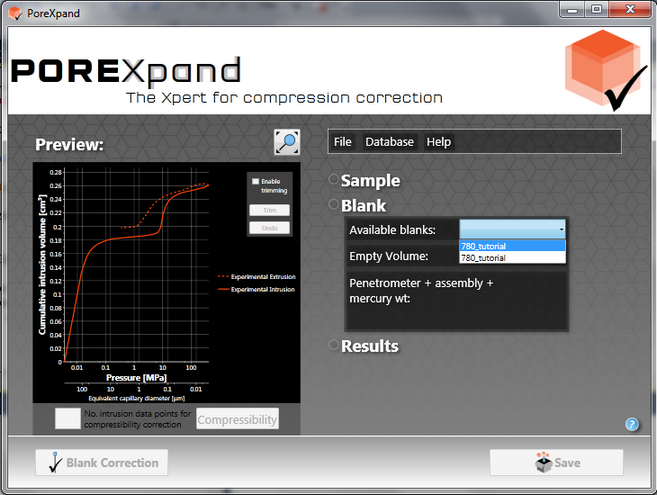
By this stage of the tutorial you have added a blank penetrometer run to the database and have entered the sample information into the home screen. The next step is choosing the correct blank file to perform the blank correction of the data. Do this by clicking the small arrow next to Blank to reveal the Blank drop-down menu. From the Available blanks sub-menu select the 780_tutorial blank.

PoreXpand home screen with the blank data section expanded to list the available blanks
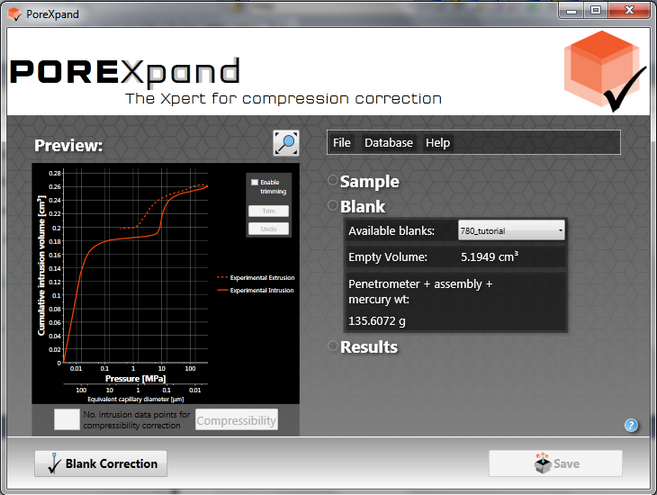
In the screenshot above, the Blank Correction button is inactive because there is no appropriate blank file loaded. A blank is considered appropriate if it has the correct mercury density and a pressure table that matches that of the sample intrusion characteristic. As you load the 780_tutorial blank file, you will notice the Blank Correction button becomes activated, as shown below.

PoreXpand home screen with the blank data selected and an active Blank Correction button
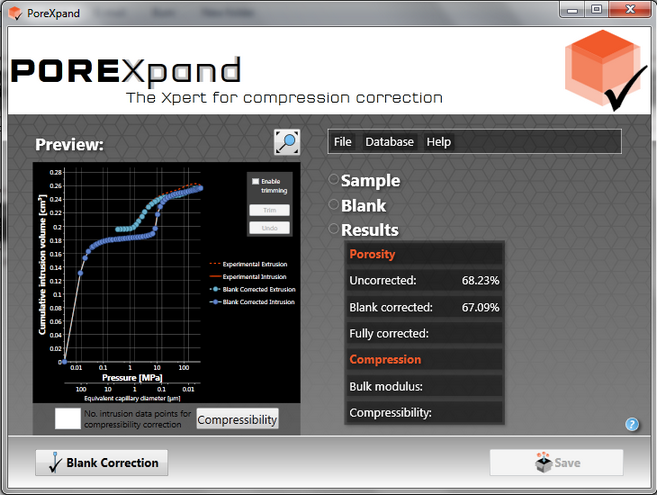
You can now click on the Blank Correction button to perform the blank correction of the data, which will add an additional experimental data plot.

PoreXpand Home Screen after the blank correction has been performed
You can now see details in the results section of the home screen. To reveal this, click the small up arrow next to Sample to minimise those details, and then click the small down-arrow next to Results. The results show that the porosity of the sample has been reduced by 1.14 %.
The next stage of the tutorial explains how you can zoom into the graph to determine the correct point where the software should correct for compressibility.