Micromeritics datafiles require a blank correction to be made, which subtracts the intrusion of mercury into an empty sample chamber (penetrometer), thus correcting for mercury contraction and expansion, and intrusion into, for example, seals and scratches in the sample chamber. To illustrate the process, the tutorial sample is a Micromeritics format datafile which has not been corrected for a blank.
First click on the small arrow next to the Database of existing blank datafiles, and then the small arrow next to Available blanks to check whether a blank already exists in the database:

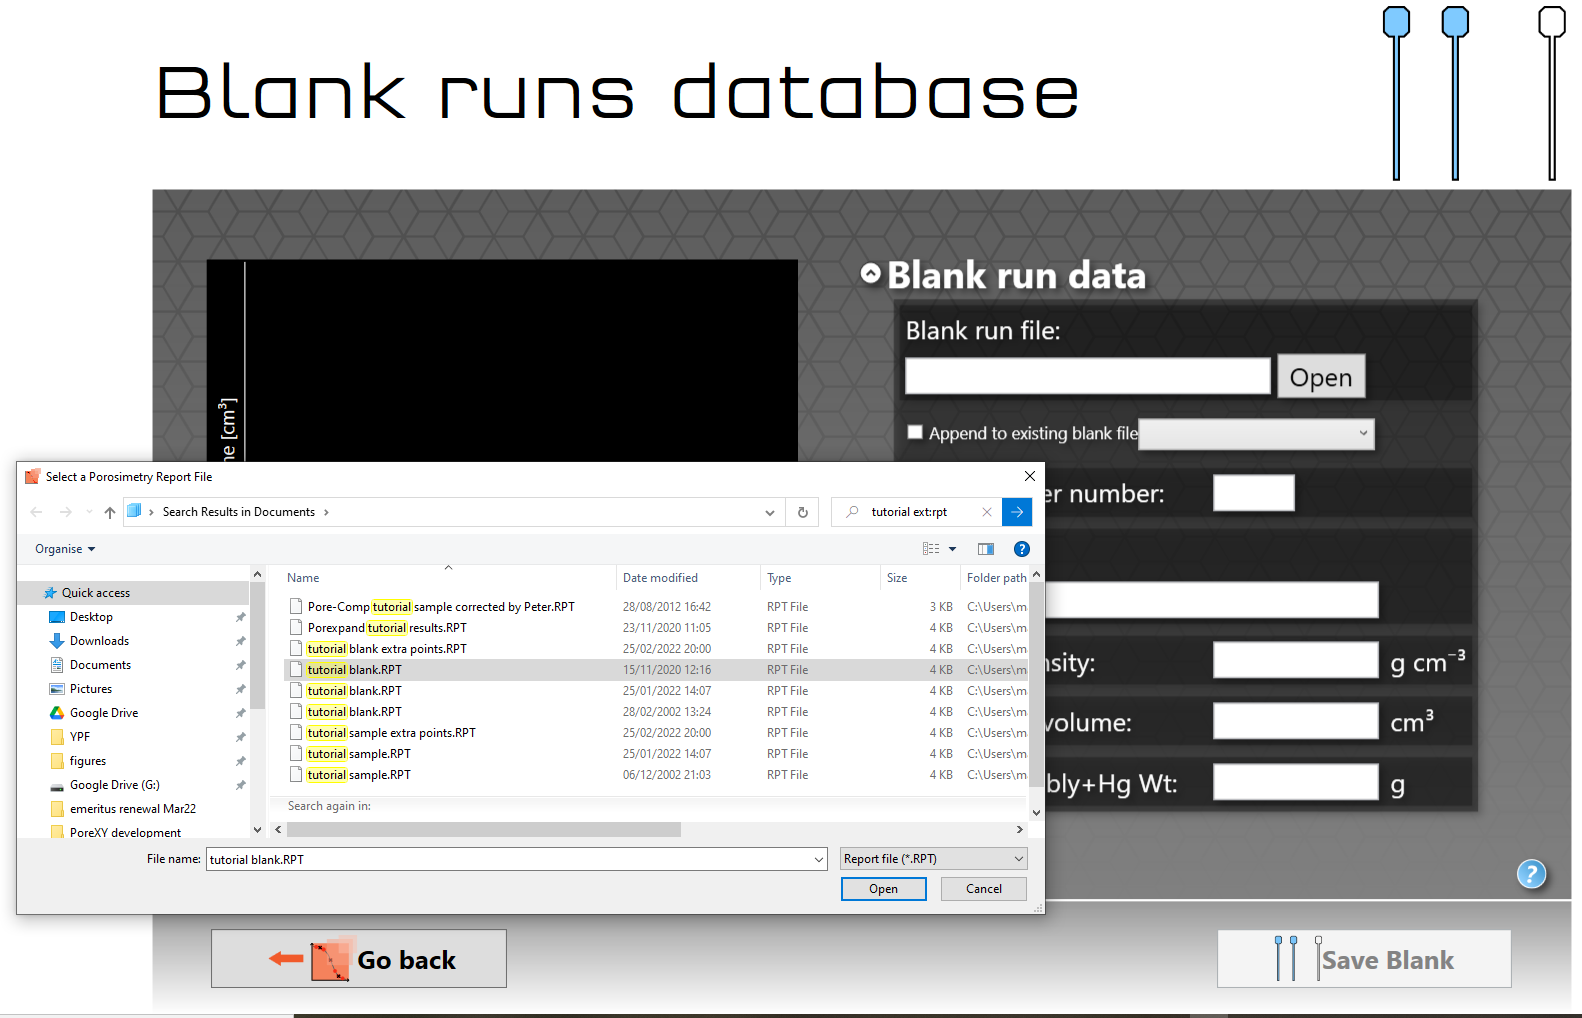
If there is a valid blank available, click on its name to load it; for obvious reasons, the blank must have the same sample chamber / penetrometer number as the sample datafile for it to be valid. If you are using the tutorial sample, click on 780_tutorial. If a suitable blank is not already loaded, then click on Input blank datafile | Add new blank data to database. If you are using the tutorial sample, add the tutorial blank.RPT file as shown:
Once you open the tutorial blank file the screen will change to display a graphical representation of the blank and any details it can take from the data file.

Blank runs database screen after opening the blank tutorial file
In the case of the tutorial blank file, shown above, there are some text boxes that require additional information, which you should be able to get from your instrument laboratory notebook or from the instrument software. In the example above the required additional data is listed below.
•Penetrometer number - 780
•Description - tutorial
•Empty pen. volume - 5.1949 cm3 (empty penetrometer volume)
•Pen. + Assembly + Hg Wt: - 135.6072 g (Penetrometer + assembly + mercury weight)
Enter the details into the blank text boxes and then click on Save Blank. You can see, as with the tutorial sample file, that the extrusion curve bulges upwards the pressure is decreased from maximum pressure. As with the sample file, the bulge is caused by a thermal effect caused by running the instrument with an unoptimized pressure table or too quickly. For this tutorial, the effect is slight, and corrected by subtracting the blank datafile from the sample datafile, as will be seen below.
The blank file is saved with the name penetrometer number_pcblank, in your directory My Documents\PoreXY\Blanks e.g. in the case of the tutorial, it will be saved as 780_tutorial_pcblank . PoreXY will not save the same file name twice, so if you want to repeat the tutorial on the same computer and re-input a blank file from scratch rather than using the database, give the penetrometer a different number before saving.

When you click on Save Blank a message box should appear stating that the blank has been saved successfully. Then click on the Go back button.
You can now click on the Correct for blank button to perform the blank correction of the data, which will add an additional experimental data plot. For the tutorial example, the output is as shown below:

You can now see details in the results section of the home screen. To reveal this, click the small up arrow next to Sample to minimise those details, and then click the small down-arrow next to Results. In the case of the tutorial sample, the results show that the porosity of the sample has been reduced by 1.14 %, from 68.23% to 67.09%.
The next stage of the tutorial explains how you can zoom into the graph to determine the correct point where the software should correct for compressibility.